Creating a Hot Tub Base and Deck Surround

My recent work adding hot tub to my back yard turned out to be a lesson in perseverance. What I thought would be a simple operation gave me lots of opportunities to problem solve, push through obstacles, and hang in there through the many steps needed to get to the final outcome. I learned a lot, and will post some of the lessons here so others can learn from the experience.
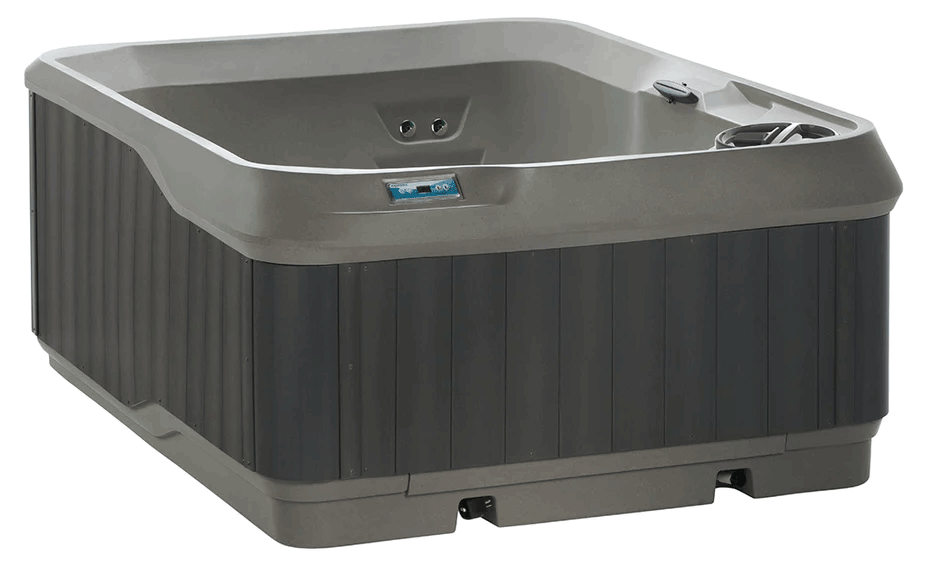 Although costs can and did creep, the aim of the project was to set up a hot tub in a way that was reasonably affordable. So the starting point was a lower-tier plug-and-play model. This approach saves costs and in many ways can quickly get a working tub in place. Things to check on: the manufacturer and features. Costco sells models made by Watkins, which is well established. Also most models will have an ozonator and can be converted to 220 volts (if desired). The Aquaterra Montara model was on sale, and the first step was to place the tub on order with about a six week expected delivery.
Next, it was time to prepare a base. Lots of research revealed many options and some confusion. Building a deck is possible, but needs a lot of reinforcement for the weight. Many people advocated for concrete, and I was heading in that direction until I got estimates ($1,200-1,800) for a 6'X8' slab. I also looked at pouring the slab myself. None of this was looking great in terms of costs or ease. I also looked a lot a making a floating deck using pier blocks, which does not require a permit (like a slab would) and would be less expensive and more flexible.
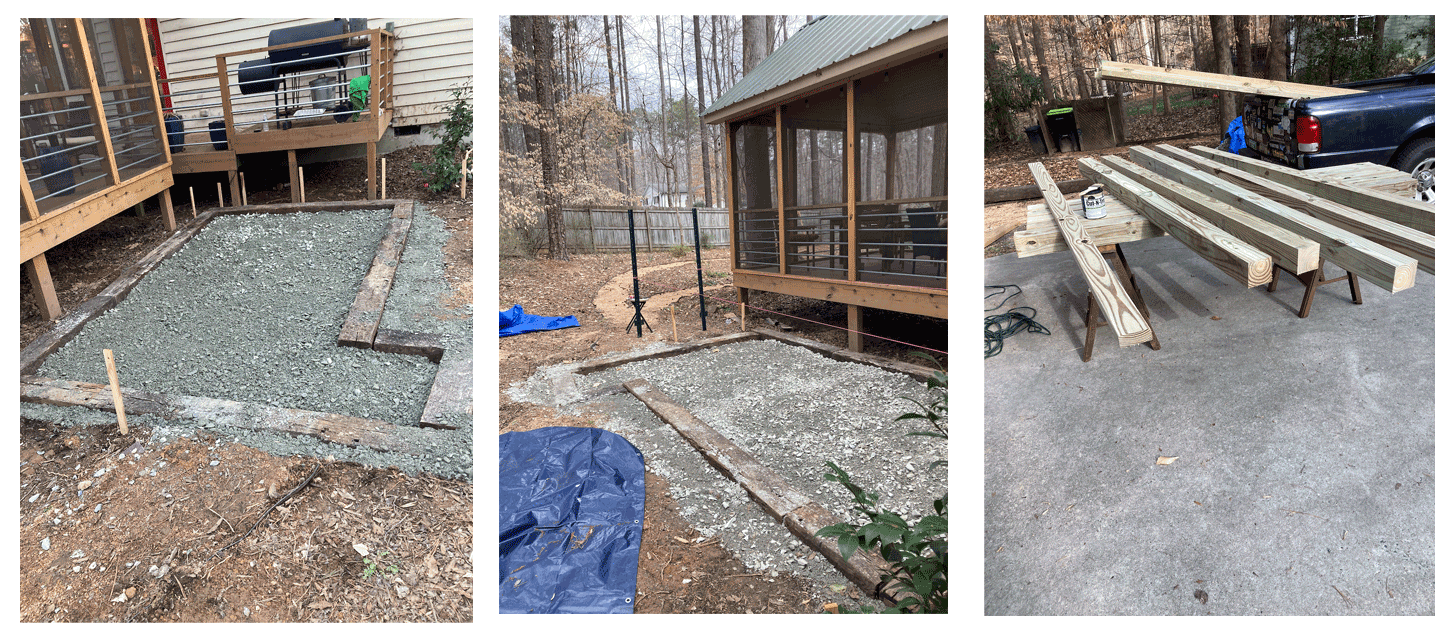
Eventually, I decided to use the gravel pad approach. Essentially, you can create a pad using gravel that will be as solid as concrete, have better drainage, and cost much less. So I got started digging out a wide flat space that could be filled with gravel. I used string and a laser level to get the depth set so eventually the top of the tub would line up with my existing deck. This was more art than science. I also used a tamper to prepare the surface once dug. The tub and deck would block anything from growing, but I had some lying around, so I covered the bottom with weed blocker.
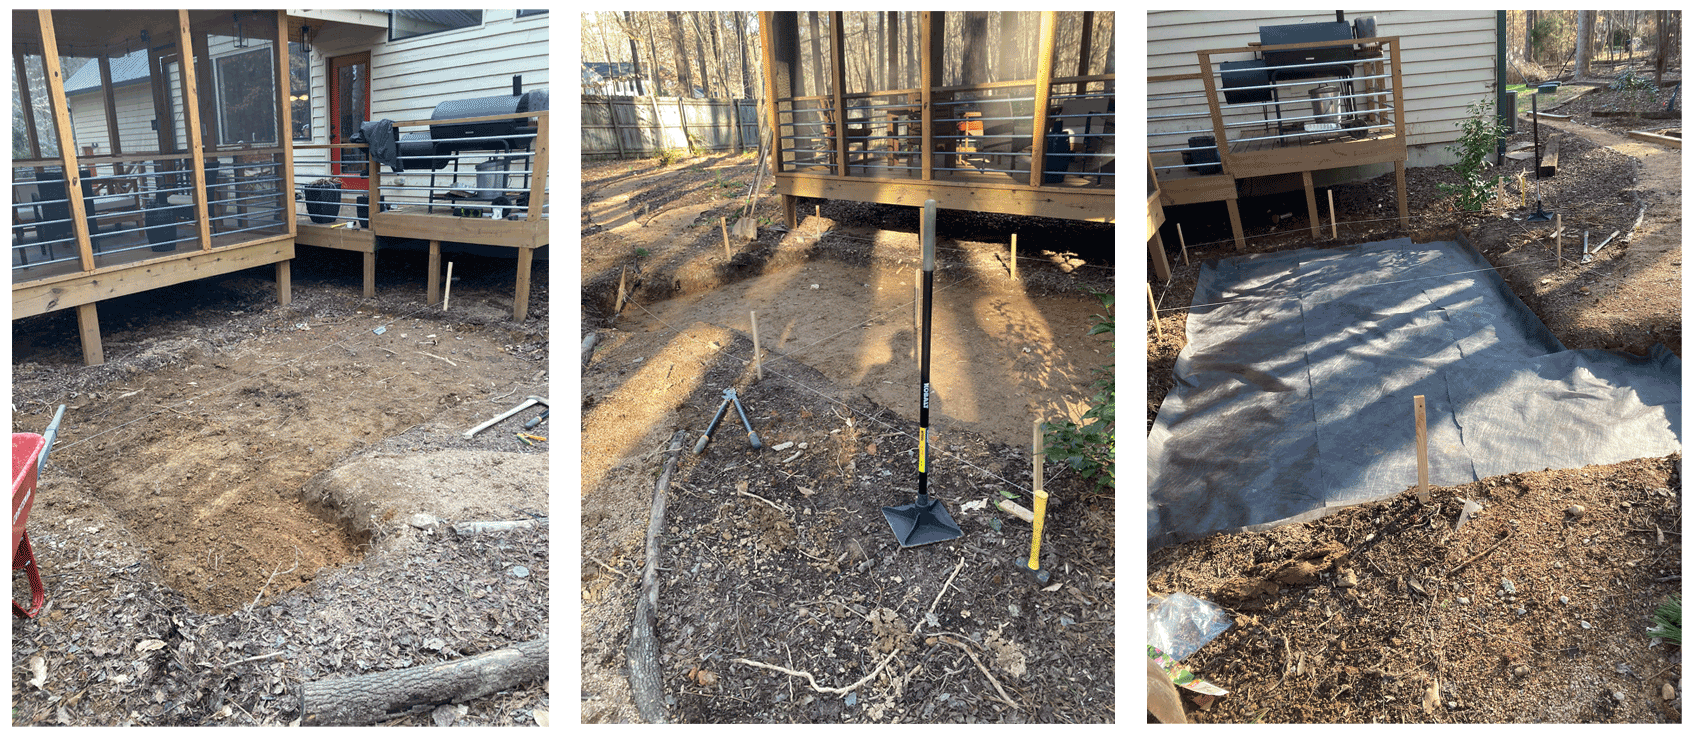
It's maybe not necessary depending on your soil, but I wanted to use a border to hold in the gravel and keep everything solid. You could use any kind of ground contact wood, but I had access to railroad ties nearby and grabbed a bunch of them to create the border.
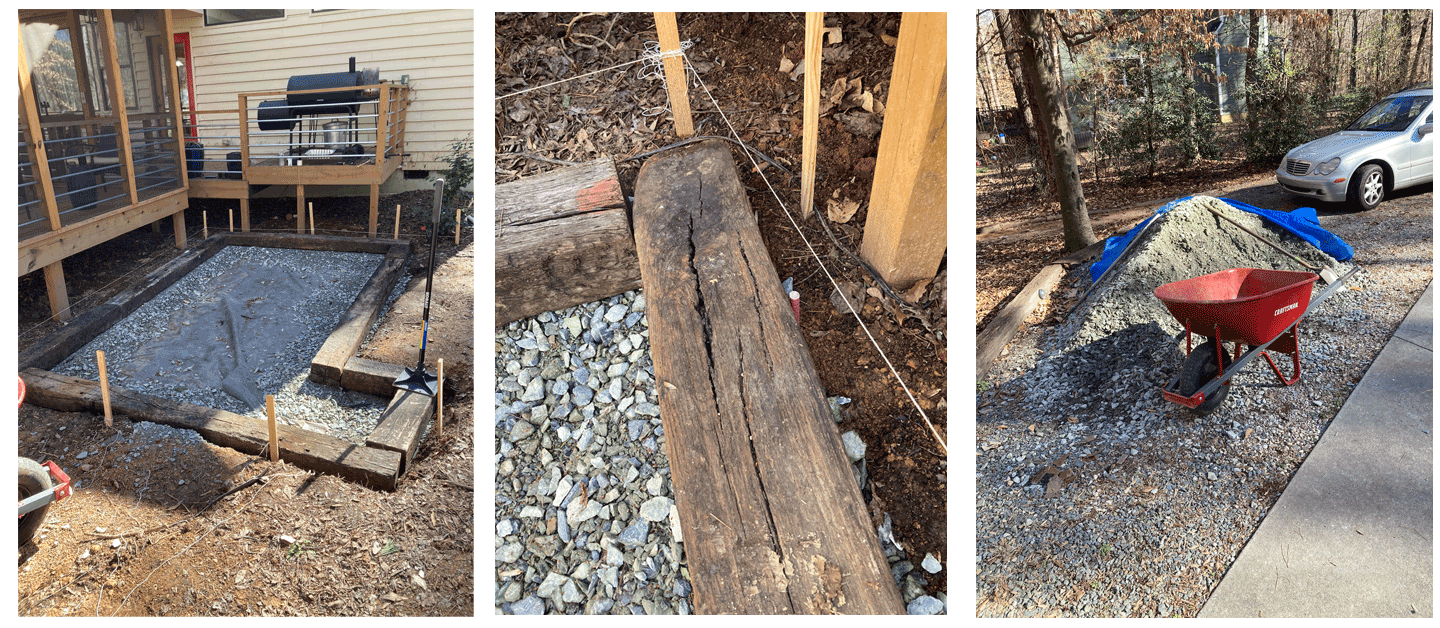
What's nice about this approach is much of this is landscape type work. The railroad ties ended up creating some less than square corners and fit roughly into the shape of the pit. For this reason, I recommend making the pit and the border a bigger than you would need for any plans for the tub or deck above. I would have expanded the dimensions a bit for more room to adjust, etc. to compensate. Give yourself at least an extra foot and account for the width of the border when digging out the pit. I also placed the ties on top of tamped down gravel for better drainage. The next step was to bring in the gravel. I had delivered and wheelbarrowed in several yards of "3/4" crusher run gravel, the first additional expense at around $275.
Once the pit was filled with gravel, I used the laser level and strings to measure and smooth the surface of the gravel. I used the tamper to flatten and further level the gravel surface. Spraying the gravel with water locks it together so that the surface